Full Fish1 Dataset
Launch the full Fish1 editable dataset in CAVE-enabled Neuroglancer. This is the production dataset for proofreading the full volume. Please only submit edits when you are confident they are correct.
Launch Full Dataset Request AccessAccess
Proofreading requires a CAVE account. Use the same email address for the form and for logging into Neuroglancer.
- Apply for a CAVE account by submitting this form. We will respond to your application within 24 hours.
- Once approved, open the full dataset link and click the Login button at the bottom of the Neuroglancer page. Use the same email address provided in the application form.
- After logging in, you are ready to proofread.
Proofreading Overview
Start with the sandbox dataset, then use the tutorials and video walkthroughs to learn how CAVE proofreading works before making edits in the full dataset.
Test Dataset
Practice proofreading in a sandbox version of the Fish1 agglomeration. Use this dataset to get familiar with the interface and editing workflow.
Open Test DatasetProgrammatic Access
Learn how to programmatically interact with CAVE and related Fish1 data resources.
View TutorialsVideo Channel
Watch walkthroughs of proofreading workflows, common operations, and interface tips.
Watch Video TutorialsMaking CAVE Edits
CAVE edits are made from the Graph tab in Neuroglancer. The two main operations are merging split fragments and cutting incorrectly merged segments.
Shift + C → Cut
Merge split segments
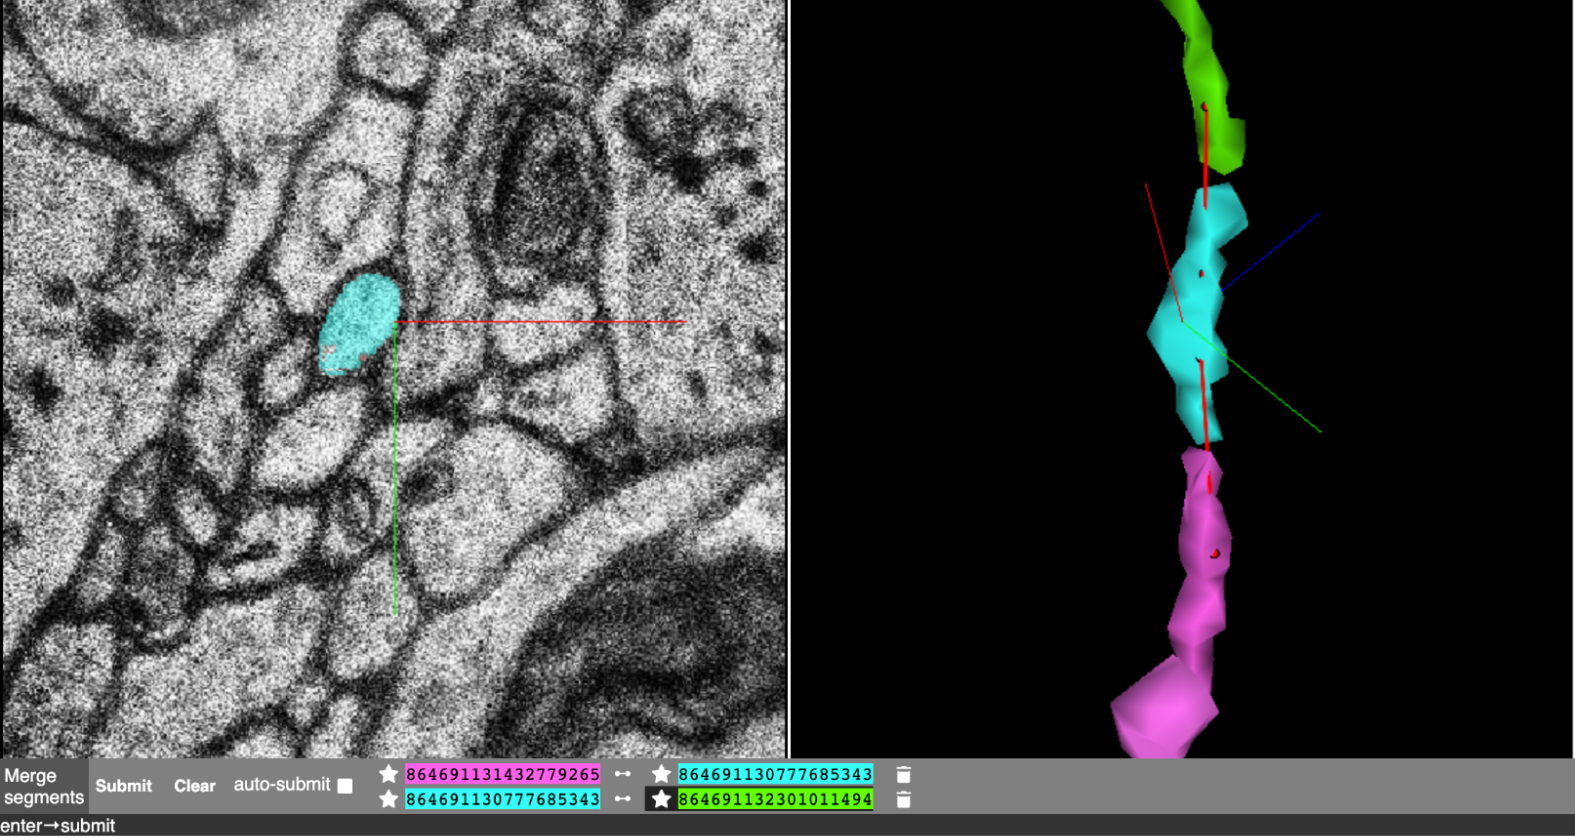
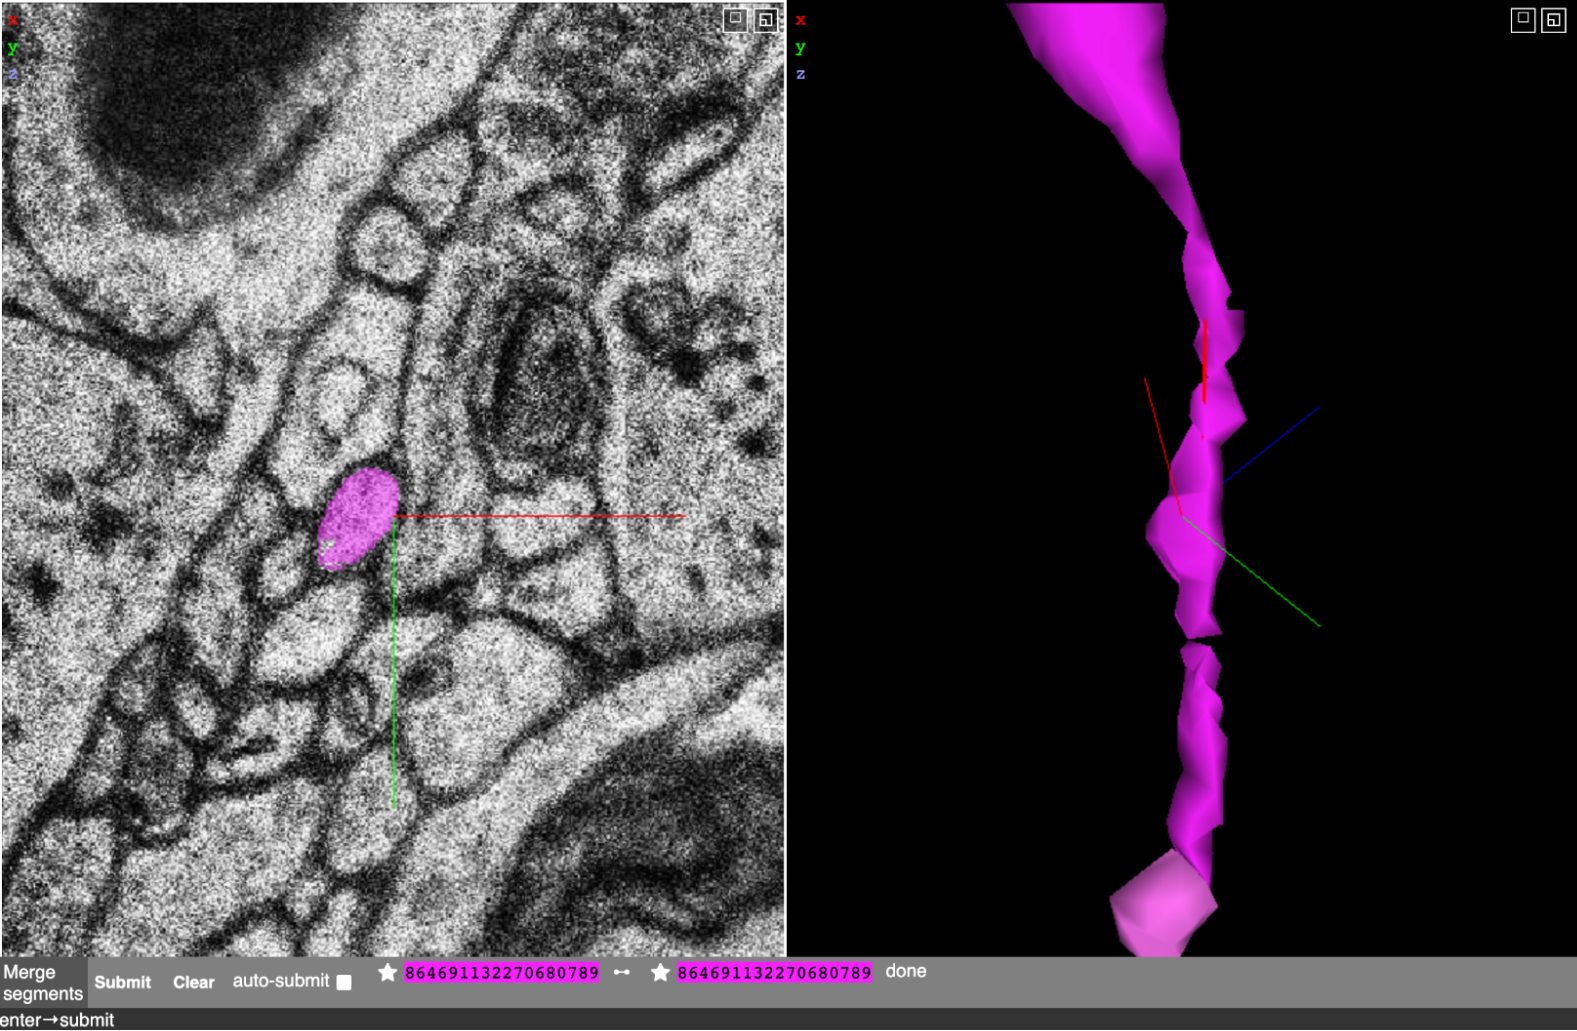
Use merge edits when one neuron has been incorrectly split into multiple segments. Select the fragments that should belong together, submit the merge, and confirm that the merged result is rendered in the same color.
Read merge workflowCut merged segments
Use cut edits when two neurites or cells have been incorrectly joined. Place points on both sides of the desired split and submit the cut from the Graph tab.
Read cut workflowMerge Workflow
- Select the segments you want to merge.
-
Press
Mto open the merge menu.
-
Control + Clickthe first segment, thenControl + Clickthe second segment. A red line should connect the selected segments, and both segments should appear in the merge menu.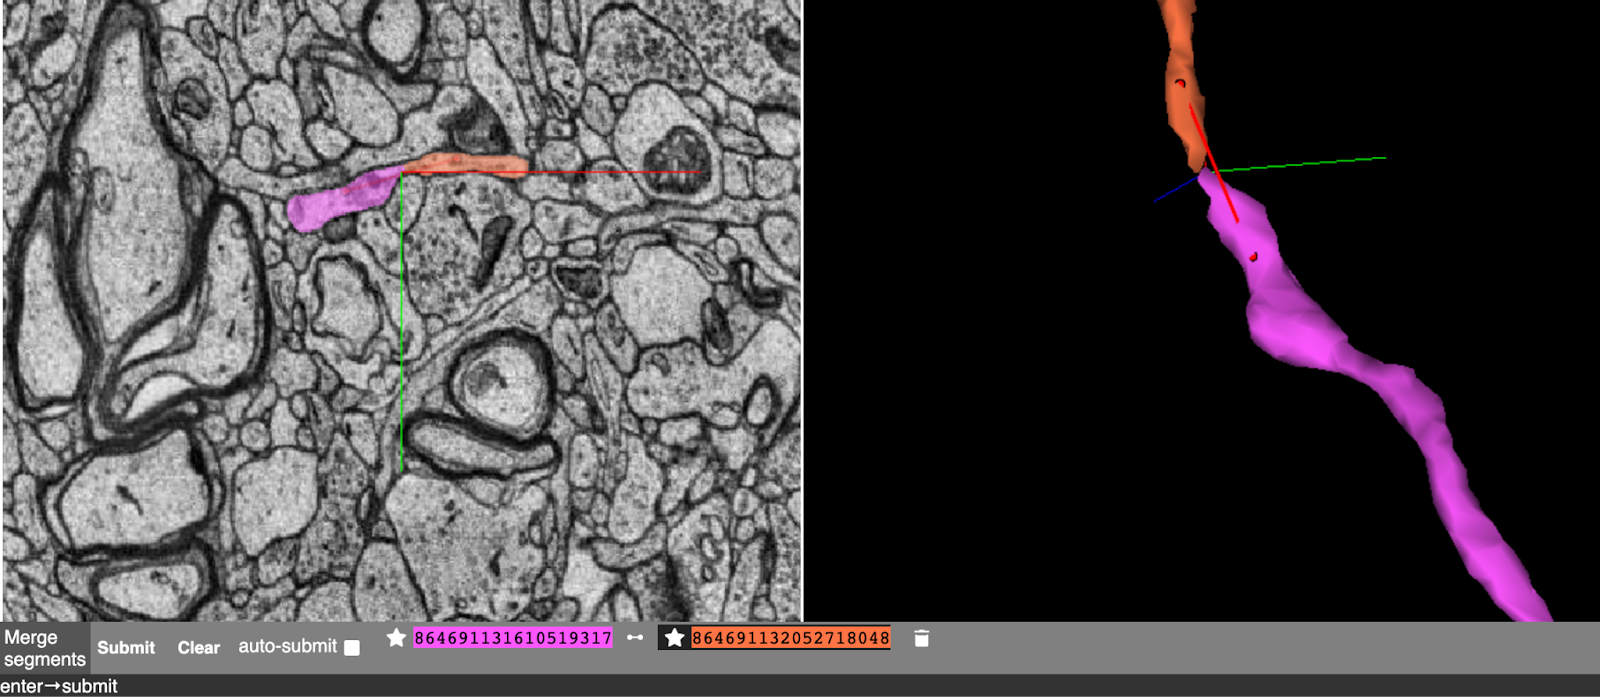
-
Repeat this process to add additional segment pairs. A single bulk merge can include
up to 10 segments.
-
Click Submit to merge the selected segments. If successful, the merged
segments will render in the same color.
- Use Clear to cancel all selections, or remove individual selections with the Trash icon. If auto-submit is enabled, requests are sent automatically after each selected pair.
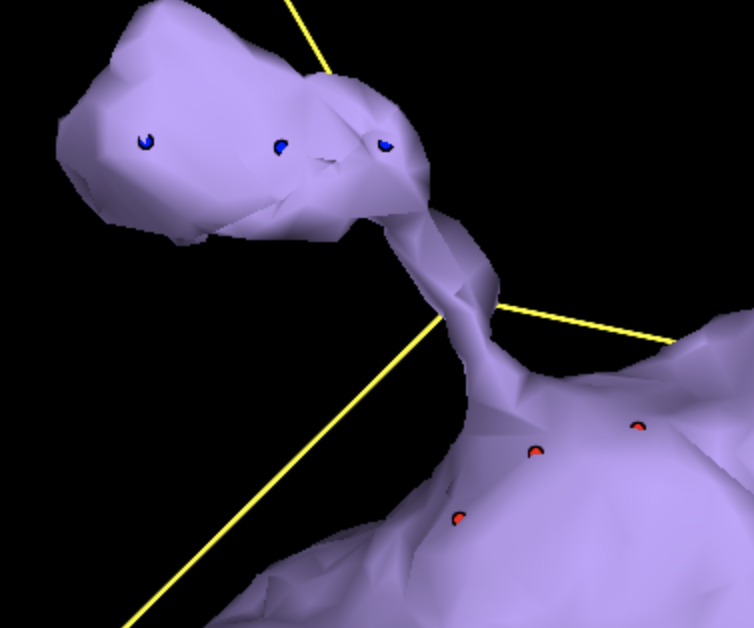
Cut Workflow
- Open the Graph tab in Neuroglancer. Make sure you are in the Graph tab, not the Segmentation tab.
-
Press
Cto open the cutting menu.
-
In the 3D view, place points around one side of the region you want to split.
Hold
Shift + Controlwhile clicking on the mesh to place points. - Click Swap, then place points on the other side of the desired cut.
-
Usually about three points per side is enough to define the cut.
- Click Submit to perform the cut. After a few seconds, the two sides should appear in separate colors. Reload Neuroglancer to update the meshes.